I have seen many pet owners trimming their dog’s hair by themselves to save the cost of taking it to a professional groomer. Personally, I think it is a good approach. You will be saving money and also creating a stronger bond between yourself and your pet.
But the thing is, if you don’t clean and maintain your dog clippers regularly, it can end up costing more as the clipper will end up not working eventually. So, how do you clean it? Let’s look at the answers here.
How to Clean Dog Clippers
Cleaning your dog clippers should never take a back seat if you trim your dog’s hair on your own. I used to prefer taking my dog to a groomer at first. But eventually, as the cost started weighing down my wallet, I decided to take trimming duty into my own hands. And I have yet to look back.
Sure, I burned through a couple of my dog clippers at first, but that was before I knew how to clean and maintain it the right way. And now that I understand how important it is to take care of it, my clippers last more than a year.
Now you must be wondering, how do I make my clippers last that long?
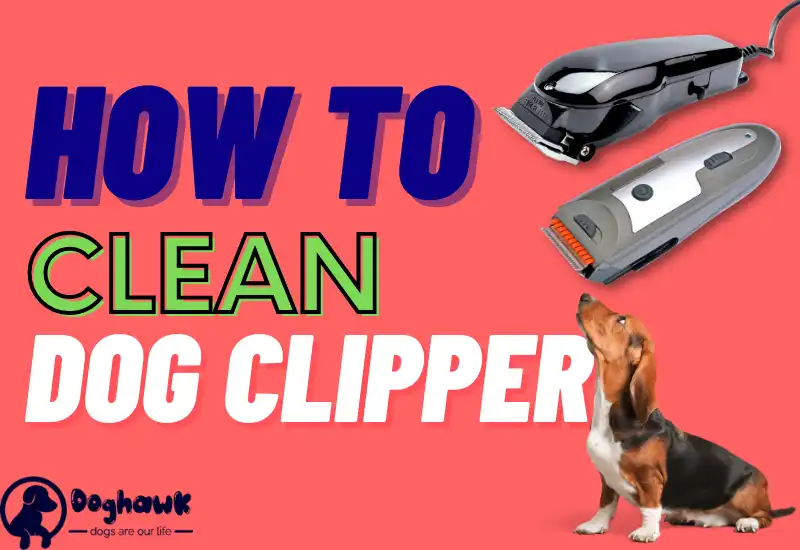
Well, when it comes to cleaning clippers, there’s a right way and a wrong way. Most people, who are short on time, just brush off the top of the clipper and get rid of the loose hair before putting it away. But that’s not the best way to clean your dog’s clippers.
In this article, I will talk about the best way to keep your clean dog clippers so that you can get long-term use out of them.
Dog Clipper Care and Maintenance
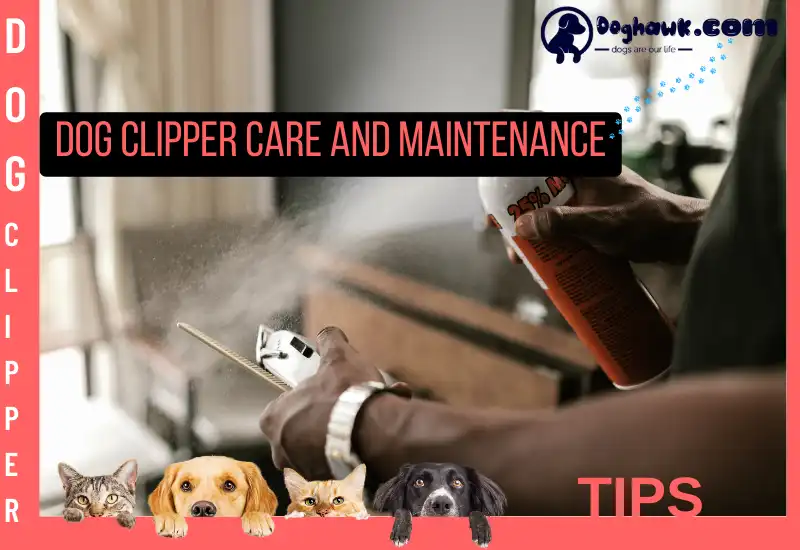
The dog clipper has two main components that you want to inspect –
- The clipper itself
- And the blades of the clipper
For simplicity’s sake, let’s address one component at a time. So, I will leave the blade care tips for later while I talk about checking and maintaining the main body of the dog clipper now.
First things first, make sure you unplug your dog clipper and allow it to cool down completely before you start any inspection. Then check all the parts of the clippers where hair can get trapped. Typically, the clipper vents can get clogged if you use them regularly. So, remove them by hand.
You then want to focus on the blade drive assembly. This section of the clipper creates the back and forth cutting motion of the blades, and if it is worn out, you need to replace it. Don’t worry; you can usually find a replacement blade drive assembly from the manufacturer of your dog clipper.
The most critical part of the clipper is its motor. But inspecting and repairing it is a bit more complicated. If you notice that your clippers are running slower than normal, you want to check the carbon brushes located at the lower part of the body. If it’s worn out, you need to replace it.
However, before you do that, I would recommend going through the owner’s manual of your dog clipper. It will give you an idea of how long the brush can last and the best way to replace it.
Finally, you want to check the latch that is holding your blade in place. Sometimes the latch may get loose, but thankfully, tightening it usually fixes the problem. On the off chance that the latch is permanently damaged, you need to replace it too.
· How to Disinfect Dog Clippers
Since the dog clipper’s main housing rarely touches the skin of your pet, it does not require disinfecting or sanitizing. You can, however, use a dash of motor oil to keep the motor well-lubricated. The oil will also keep it cool and prevent overheating.
· How to Take Care of Dog Clippers
Cleaning the blade after every trimming session is essential if you want to make it last. I know this might be a lot to ask, especially when you think about how long it takes to cut your dog’s hair perfectly. But unfortunately, there is no easy way out of it.
The good news here is that if you regularly clean your dog clippers, they will last you a lot longer than an unclean clipper. And considering how much dog clippers can cost, having to invest in a new set of clippers is not exactly ideal for a pet owner.
So, inspect your clipper regularly for any wear and tear. And once you are done cleaning your clipper, make sure you store it in a cool, dry place until you need to use it again.
Clipper Blade Care and Maintenance
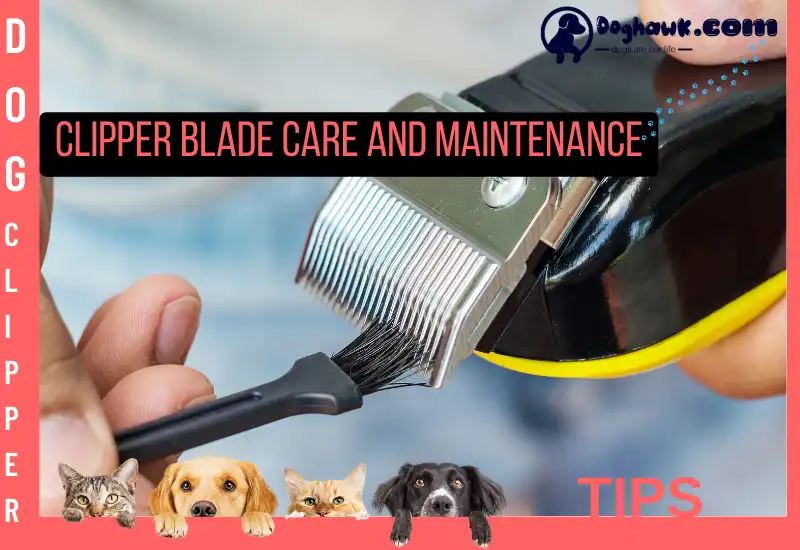
Now that you have a clear idea of how to clean one part of the dog clipper, let’s talk about the blades. And there is a lot to talk about here since the blade is the part responsible for actually trimming down your pet’s hair. Not only do you have to clean it, but you also need to sanitize and oil it to make sure it does not pose a problem while grooming.
· How Do You Clean Dog Clipper Blades
The first thing that you have to do is take the blades out of the clipper housing. Now the steps to doing that depend mostly on the model that you are using. Some clippers use a safety latch to securely attach the blade, whereas others use screws to hold it in place.
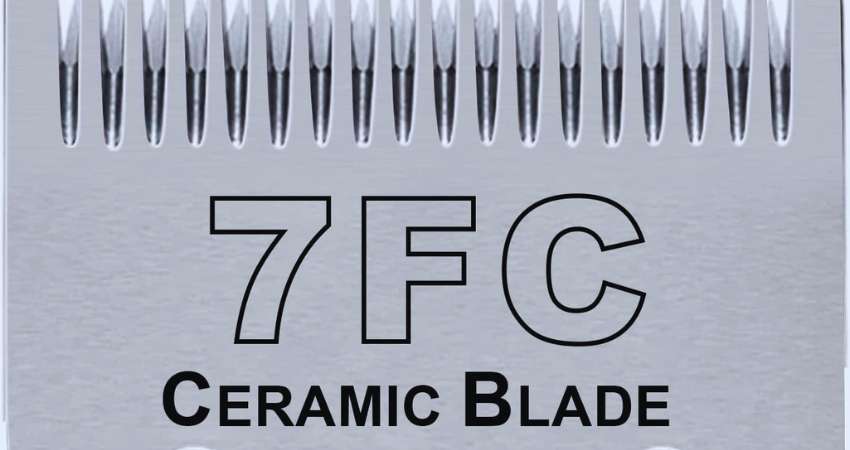
Once you have the blade clippers removed, you can start cleaning it. Use a soft-bristled brush to rub off any loose clots of hair that may be stuck on the blade.
Do not stick your finger in the blades to remove the hairs, though. The blades are quite sharp, and you can easily cut your skin if you are not careful.
. How to Sanitize Dog Clipper Blades
After cleaning the residual hair off of the blade, you need to sanitize and disinfect it with your favorite blade-washing solution. Some people go with spray disinfectant, but personally, I am not a huge fan.
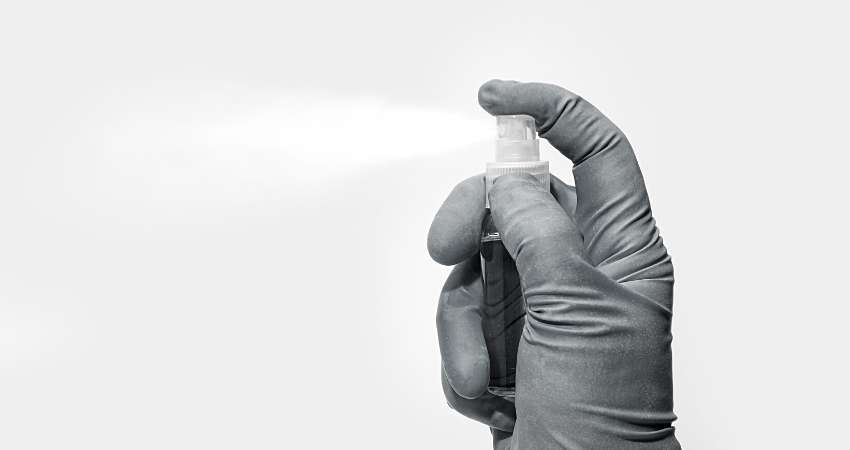
Take your washing solution into a clean bowl and mix a sufficient amount of water in it. Then, you want to dip the blade in the solution and let it soak for up to 10 minutes.
Once it is properly disinfected, you want to take the blade and leave it out to dry as long as it needs.
I would strongly advise against using hairdryers to speed up the drying process. It can dull out your clipper blades, and if that happens, you need to sharpen or replace them. Letting it air dry is definitely the best way to go.
. How to Sharpen Dog Clipper Blades
If, after detaching the blades from the clipper, you find that the clipper blades are dull, you can’t just put it back in after cleaning it.
You also need to resharpen the blades to make sure they cut the dog’s hair smoothly and efficiently. Using a dull dog clipper blade can cause the motor to work overtime and also hurt your dog.
So, you have two options; you either have to replace the blade or sharpen it so that it cuts smoothly again.
Personally, I would recommend sharpening it as it will give you a couple of months’ worth of use out of it. But if you do not want to take the hassle, I completely understand.
For those who want to get more use out of their blades, I have already written a complete guide on dull clipper blades. So, for an easy way to resharpen your blade, you can check out my article.
. How to Maintain Dog Clipper Blades
Maintaining your dog’s hair clipper blades is not exactly rocket science. All you have to do is clean it regularly and store it in a cool and dry place. You also want to lubricate it with blade oil from time to time to keep it nice and sharp. My favorite time to do it is right after I sharpen my dull blades.
. How Often Should Dog Clipper Blades be Cleaned
In my opinion, dog clipper blades should be cleaned after each grooming session. Dog hairs are pretty thick, and they can easily get stuck in the blades after you use a dog clipper.
And if you don’t clean it, it can dull out the blades over time. And after a while, you might notice that your clipper is not cutting at all.
Now That We’re Here
Keeping your dog clean clippers is essential if you want to get decent use out of it. Without proper maintenance, dog clippers can get damaged pretty soon. However, with regular cleaning, you can make your one set of clippers last quite a while.
I hope my in-depth guideline on cleaning your dog clipper could help you learn a few new tricks in clipper maintenance. Cheers!

![Do Dog Nail Clippers Get Dull? [Preventing Tips]](https://www.doghawk.com/wp-content/uploads/2022/11/Do-Dog-Nail-Clippers-Get-Dull-1.jpg)
Leave a Reply